Lmao!!
To take the time to make that... worth every minute!
To take the time to make that... worth every minute!

It’s a rather funny story how this came to be. Every year for the annual Desert Trip we all secretly start hatching plans months in advance for some prank to pull on each other along the trip. One year Rob and Ian plugged a gizmo into my trailer light receptacle that played Christmas Train Music when I stepped on the brakes. This year Rob thought it would be funny to acquire some electronic gizmo that made cricket noises to plant in my camper and I bought that “thing” right off the boat from China from WISH for $1 to give away as an award to the first person that broke something, got stuck, ruined a tire, got lost, etc. The “thing” was originally mounted to a base with a ribbon around it to look like an Award. As it turned out they guy that should have won it by being the first to slash a tire left early so he missed out on his award but I was the next guy in line that was the first to get stuck and break things so I ended up winning my own award. Karma I guess…. But, Rob and Ian thought it would be funny to hang an Overland Bound flag on my hood as I sleep innocently in my sack drowning my broke truck tears to sleep. This custom knob was paybackLmao!!
To take the time to make that... worth every minute!

Not adding a second battery, even with solar, will limit what your going to be able to use electronic wise. My recipe is a little different. Under the hood, I have a regular ole Interstate Group 75 for a start battery connected via dual batter isolator to a cheap O’Riellys Group 24 Marine along with another O’Riellys Group 24 Marine battery inside the camper. Both marine batteries are connected by several feet of carefully routed 2/0 battery cable. Then on the roof is a 100 watt solar panel to nurse both marine batteries. It took a few years of finding the right recipe to run everything without the fridge or inverter running out of juice. As it sits now the National Luna 12v refrigerator can run for days on end without ever starting the truck while using the inverter several times in between to run the coffee pot and other small appliances. Adding the solar panel and upping the battery cable size between the two marine batteries were the best investments made towards having adequate power. A solar panel really isn’t all that expensive or difficult to install once you start researching them. I know I was scared as hell even thinking of something like solor that had had zero experience with. Mine is a Renogy where a kit can be had for under 200 bux. When I bought mine about 8 years ago it was Black Friday deal for $99 for the entire kit.... controller, cable, panel and all. That was cheaper than a single marine battery at the timeWhat size battery / setup did you end up going with on your build?
I am trying to plan a few steps ahead of where I am at in my rebuild and I am a bit overwhelmed with electrical options and planning. I think eventually having solar would be nice. But I am trying to get away with using a 2nd battery in the engine compartment and pretty much rely on the alternator for charging. So far a deep cycle AGM group 78 / 34 seems to be the most obvious choice. The low AH is concerning though.

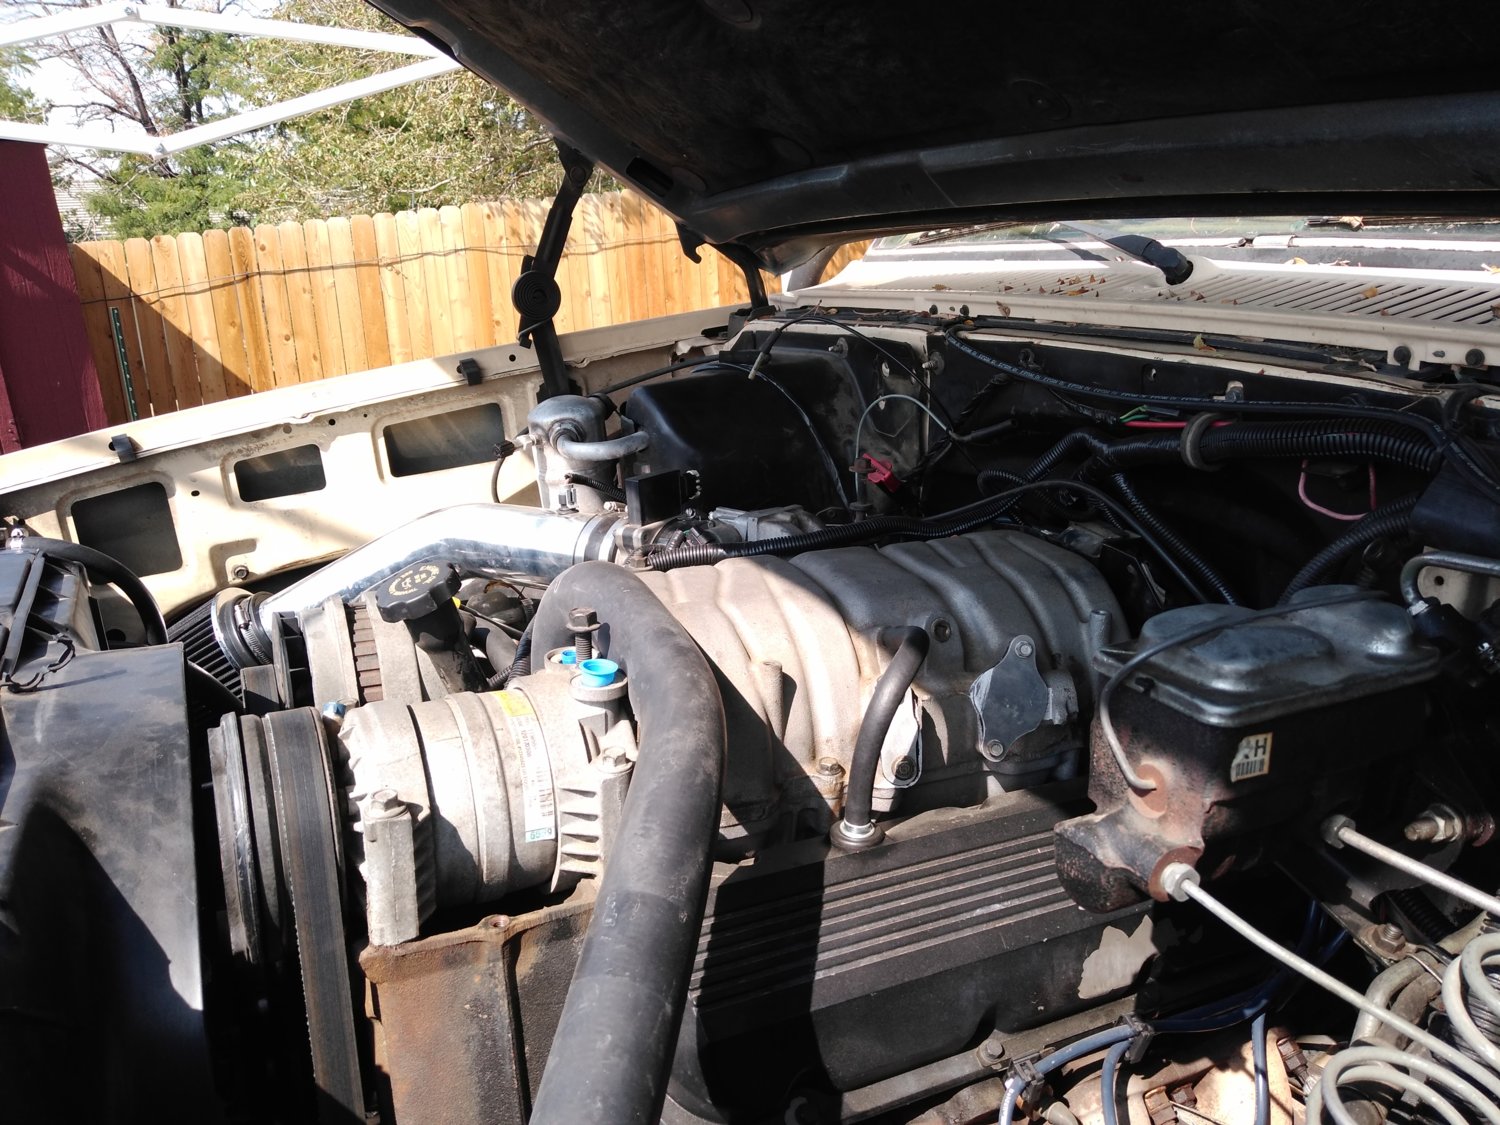
I run two 950 cca group 31 semi truck batteries on modified factory trays in my diesel K5. I love the 3/8" stud type terminals they use.
What about doing an additional pair of 6 volt batteries ran in series then hooked in parallel to the single factory battery or hooked in with an isolator. I know in the camp trailer world the 6 volt batteries hooked in series work so much better.
You need to kinda look at one part of each of these examples.
View attachment 354325
View attachment 354324
Not seen in his pics are the stand off brackets he made for the hydroboost hose. He'll take some better shots of those. Even though we don't normally take the front clips off to do this in the past it is affording him the access to do all the little fine details without having to lean over the fenders. It's all right out in the open.Looking good and the repurposed mount looks factory built. Great work as always.
The hydroboost hose stand off pictures are in the post with the shifters. I understand you got so excited to get your hands on that shift knob that you never noticed thoseNot seen in his pics are the stand off brackets he made for the hydroboost hose. He'll take some better shots of those. Even though we don't normally take the front clips off to do this in the past it is affording him the access to do all the little fine details without having to lean over the fenders. It's all right out in the open.

It's the gift that just keeps on giving isn't it. Son of a bit**!The hydroboost hose stand off pictures are in the post with the shifters. I understand you got so excited to get your hands on that shift knob that you never noticed those
I'm pretty sure Larry likes the bleeder.How you like that motive bleeder? I got one recently but haven't tried it yet still too hot out.
I do like it, but it’s nowhere near as durable as the old school pneumatic bleeders like the picture below. I’ve had my Motive Bleeder a few years now and had to replace just about everything except the tank itself. The gauge has been replaced twice and pump once. The guys at Motive have been very cool and sent the goods all three times at no charge but still gamble if the damn thing is going to work when you need it or not. I even clean the hell out of it when I’m done in an effort to prevent the brake fluid from attacking it. That hasn’t helped much. In fact, it feels like the pump needs to be replaced again. My weed sprayer makes more pressure than this damn thingHow you like that motive bleeder? I got one recently but haven't tried it yet still too hot out.
 Not sure which employee made off with the one from our shop


Looking good as always. One note to the throttle cable is to avoid interference with the oil fill tube you need the later curved version. The early version is straight and close enough for the cable to rub on it when in use.I do like it, but it’s nowhere near as durable as the old school pneumatic bleeders like the picture below. I’ve had my Motive Bleeder a few years now and had to replace just about everything except the tank itself. The gauge has been replaced twice and pump once. The guys at Motive have been very cool and sent the goods all three times at no charge but still gamble if the damn thing is going to work when you need it or not. I even clean the hell out of it when I’m done in an effort to prevent the brake fluid from attacking it. That hasn’t helped much. In fact, it feels like the pump needs to be replaced again. My weed sprayer makes more pressure than this damn thing
I really wish I still had one like this from my dads shop, but they're 300 bux
So, people are often asking how to attach the throttle cable on an 8.1L when using a L29 7.4L cable operated throttle body. Here is how I’ve been doing it by making a bracket out of whatever I can find laying around in my stash to work with the Lokar TC-1000LS1U throttle cable. Rob’s turned out just like my K10 and Suburban. We wanted his to look especially nice since his won’t be running an engine cover. Getting pretty close to start attacking the wiring
This one is my Suburban
This one is the K10. Each one is looking better than the one before it

Looking good as always. One note to the throttle cable is to avoid interference with the oil fill tube you need the later curved version. The early version is straight and close enough for the cable to rub on it when in use.
Larry's noted that before but it's worth bringing up with what he just posted.


I do like it, but it’s nowhere near as durable as the old school pneumatic bleeders like the picture below. I’ve had my Motive Bleeder a few years now and had to replace just about everything except the tank itself. The gauge has been replaced twice and pump once. The guys at Motive have been very cool and sent the goods all three times at no charge but still gamble if the damn thing is going to work when you need it or not. I even clean the hell out of it when I’m done in an effort to prevent the brake fluid from attacking it. That hasn’t helped much. In fact, it feels like the pump needs to be replaced again. My weed sprayer makes more pressure than this damn thing
I really wish I still had one like this from my dads shop, but they're 300 bux
So, people are often asking how to attach the throttle cable on an 8.1L when using a L29 7.4L cable operated throttle body. Here is how I’ve been doing it by making a bracket out of whatever I can find laying around in my stash to work with the Lokar TC-1000LS1U throttle cable. Rob’s turned out just like my K10 and Suburban. We wanted his to look especially nice since his won’t be running an engine cover. Getting pretty close to start attacking the wiring
This one is my Suburban
This one is the K10. Each one is looking better than the one before it
If I had known problems with this arrangement over the years I certainly wouldn’t do the same design to a 3rd rigIs the angle of the bracket determined by just that single bolt? Have you ever had a problem with the bracket rotating around the axis of the bolt? Seems like it would try to do that every time you stomp on the pedal hard enough.
A second bolt would be ideal but then again, I’ve never had an issue in over 10 years and almost 50K miles on the K10. If you really think about it, the sheathing doesn't have the working pressure on it......the cable does. The sheathing is nothing more than a guide for the cable to run